Its not often to that you need to test your custom SFDC web service codes using XML request/response. Usually when you create your own custom web service you just generate the WSDL file, give it to your integrator and his middleware tool will do all of the conversions.
Recently I got challenged by one of my colleague on how I test my web services (just because they could not figure out how they can consume the WSDL file). I told him that I use Eclipse or the Force.com IDE to test if the service are running correctly by executing an anonymous call. This is just ok but you are not really calling your web service using the standard XML request/response.
So how can you test your web service?
First, you need SoapUI. Its a free tool you can use in PC and Mac.
Second, you need to download your Salesforce WSDL file. You can use either the Enterprise or the Partner WSDL from Setup -> Develop -> API

Third, you create your custom web service logic. This is optional as you can use the standard web service method from the API. In the example below I just created a simple service that returns a string value 'Hello World!' and downloaded its WSDL file.
/*
    Description: This class is called from SoapUI
*/
global class SimpleService {
     webservice static string sampleService() {
        return 'Hello World!';
    }
}
Fourth, you create a new project in SoapUI and use the WSDL generated from the second step. For this example I used the Enterprise WSDL.

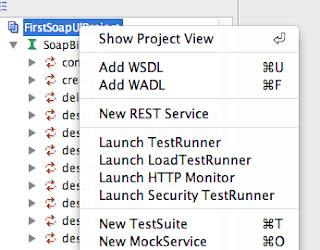
After the project is created, import the custom service WSDL file by right clicking on the project and selecting 'Add WSDL' context menu. Select the custom web service WSDL.
You should now have two nodes on the project, one for the Enterprise and the other for the custom web service you have coded as below.

Fifth step is to create a login request. Delete all of the values from the <soapenv:Header> section and then add your actual username and password to the appropriate tags like the screenshot below and click the submit icon. It should return with a soap response envelop.

Sixth, use the session Id from the soap response from step 5 and use it on your custom service call.

Click the submit icon and it should update back with the response envelop and thats it, Congratulations!

Please note that I have removed all of the header information except for the session Id which is important.
Additional notes:
- If you have a custom web service with parameters and you need to pass null value on it, Salesforce requires you to remove the parameter node on the request instead of passing a node without a value. This behavior is the same on an outbound message in which Salesforce removes the field on the message if the field is null.